- Install SubGit tool according to the Installation guide.
- Configure GitLab server:
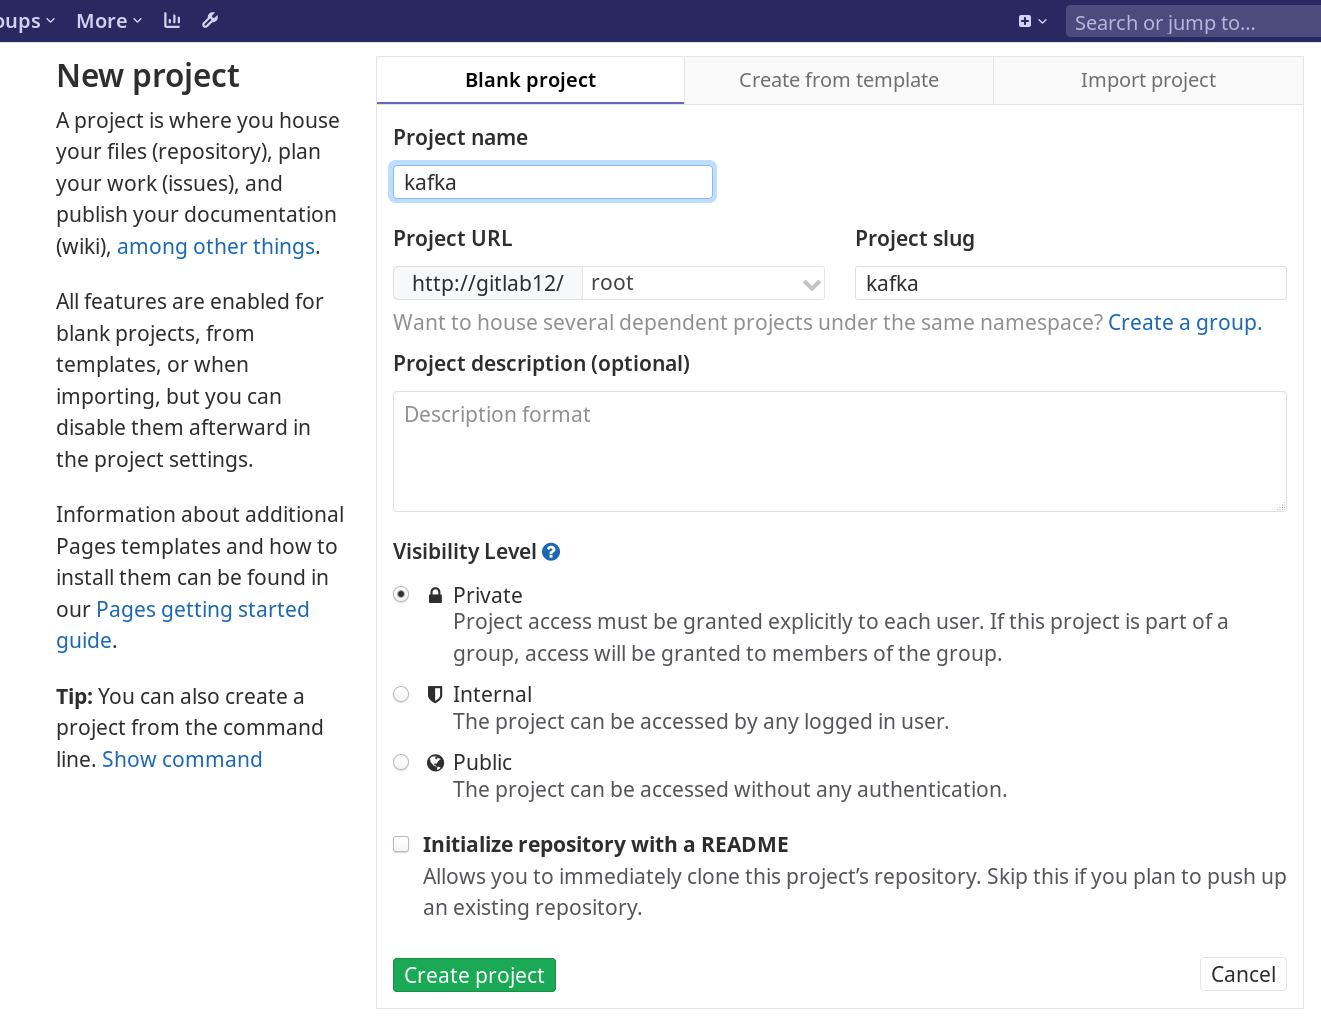
- Login to GitLab web GUI and create a new project:
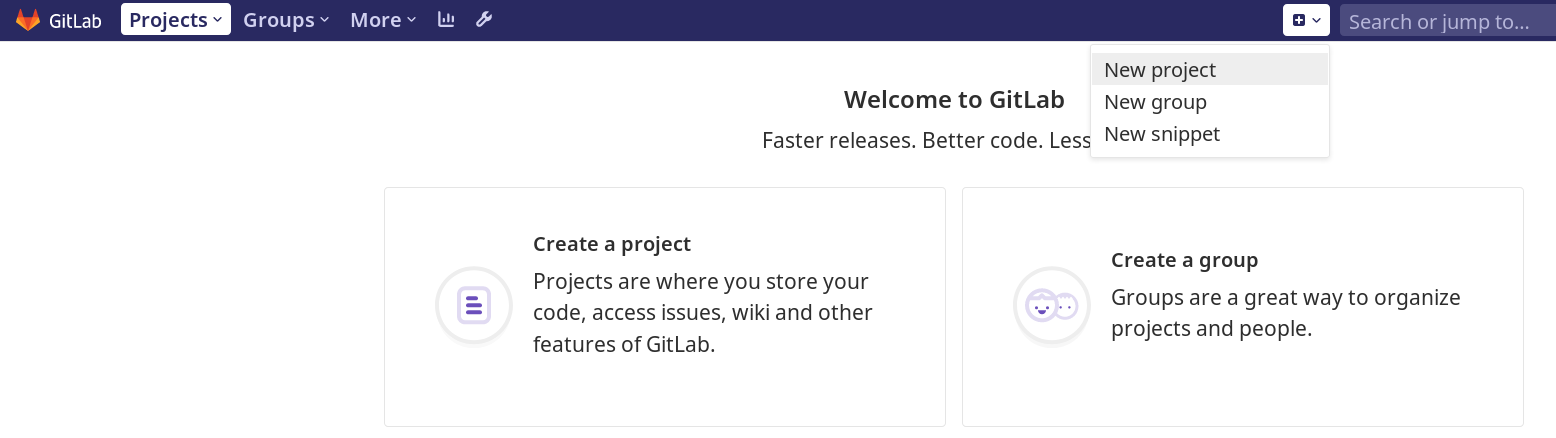
Give a name to your project, do not check “Initialize repository with a README” checkbox, and click Create project button.
- Login to GitLab web GUI and create a new project:
- Configure the repository:
Change identity to 'git' user:
Code Block language text theme FadeToGrey title change identity to git user $ su git
Change directory to that one that contains the newly created project.
Older versions of GitLab stored projects in
No Format /var/opt/gitlab/git-data/repositories/<username>
where <username> was the GitLab username that had been used during the project creation on step 1.
Since version 10.0 GitLab uses hashed storage as follows:
No Format /var/opt/gitlab/git-data/repositories/@hashed/<hash[0..1]>/<hash[2..3]>/<hash>.git
Note To find the repository path in GitLab v.10+, follow this guide.
Navigate to that directory:
Code Block language text theme FadeToGrey title change directory $ cd /var/opt/gitlab/git-data/repositories/<repo_path>
Perform initial import configuration:
No Format $ subgit configure --layout auto --trunk TRUNK SVN_URL GIT_REPO
where
SVN_URL– SVN project URL.GIT_REPO– a path to new Git repository.TRUNK– a path, relative toSVN_URL, that leads to an SVN directory that plays a role of the main line of development.
Expand title see the configuration command example. Code Block language text theme FadeToGrey title subgit configure example $ subgit configure --layout auto --trunk trunk http://svn.example.com/svn/repository/project ./project.git SubGit version 3.2.4 ('Bobique') build #3670 Configuring writable Git mirror of remote Subversion repository: Subversion repository URL : http://svn.example.com/svn/repository/project Git repository location : ./project.git Git repository is served by GitLab, hooks will be installed into 'custom_hooks' directory. Detecting peg location... Authentication realm: <http://svn.example.com/:80> Subversion Repository Username [git]: user Password for 'user': Peg location detected: r10248 project/trunk Fetching SVN history... Done. Growing trees... Done. Project origin detected: r1 project/trunk Building branches layouts... Done. Combing beards... Done. Generating SVN to Git mapping... Done. CONFIGURATION SUCCESSFUL To complete SubGit installation do the following: 1) Adjust Subversion to Git branches mapping if necessary: /var/opt/gitlab/git-data/repositories/user/project.git/subgit/config 2) Define at least one Subversion credentials in default SubGit passwd file at: /var/opt/gitlab/git-data/repositories/user/project.git/subgit/passwd OR configure SSH or SSL credentials in the [auth] section of: /var/opt/gitlab/git-data/repositories/user/project.git/subgit/config 3) Optionally, add custom authors mapping to the authors.txt file(s) at: /var/opt/gitlab/git-data/repositories/user/project.git/subgit/authors.txt 4) Run SubGit 'install' command: subgit install ./project.gitSpecify authors mapping.
Configure authors mapping in the default authors mapping file:No Format GIT_REPOS/subgit/authors.txt
Or change
core.authorsoption so that it points to the global authors mapping file.
Find more details about authors mapping in Authors mapping article.
- Perform import and start using the new Git repository:
Import data to the repository by the command:
No Format $ subgit import GIT_REPO
Expand title See import example Code Block language text theme FadeToGrey title subgit import $ subgit import ./project.git SubGit version 3.2.4 ('Bobique') build #3670 Authentication realm: <http://svn.example.com:80> Subversion Repository Username [git]: user Password for 'user': Translating Subversion revisions to Git commits... Subversion revisions translated: 10248. Total time: 2 hours 15 minutes 38 seconds. IMPORT SUCCESSFULWhen the command completes, you can clone your new Git repository and start to work with it:
No Format $ git clone GITREPO WORKTREE
where
WORK_TREE– a path to your working copy.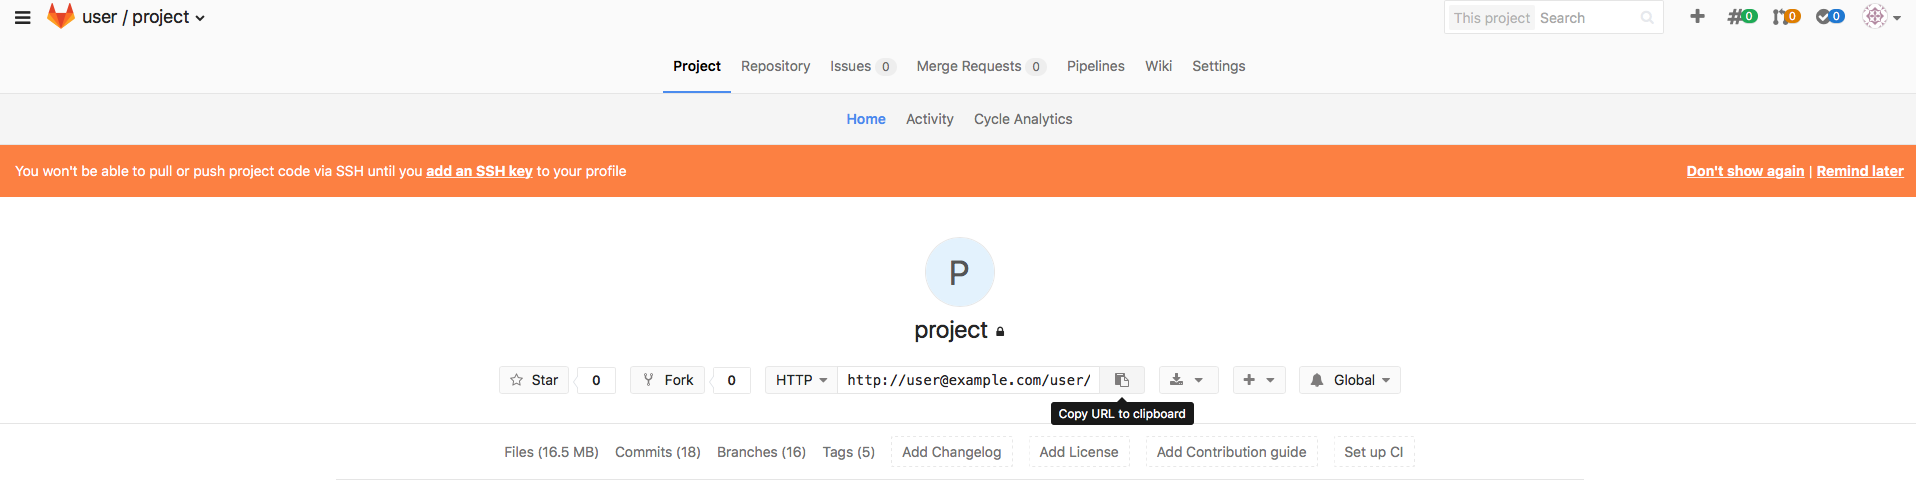
Expand title See the command example Code Block language text theme FadeToGrey title repository cloning example $ git clone http://user@example.com/user/project.git /home/user/gitlab_project.git Cloning into '/home/user/gitlab_project.git'... Password for 'http://user@example.com': remote: Counting objects: 99, done. remote: Compressing objects: 100% (39/39), done. remote: Total 99 (delta 50), reused 99 (delta 50) Unpacking objects: 100% (99/99), done.
Warning title Empty working tree case If Git warns you that you are cloning an empty repository and you don't see your files in the working tree, most probably automatic branches and tags mapping didn't work correctly. In this case, mapping has to be set manually, see details on mapping in Branches and tags mapping.
- Get support:
If you run into any problems, see one of the following guides for more details:
| Info | ||
|---|---|---|
| ||
For one-time import, no license is needed. |
...