This is a step-by-step guide to importing and mirroring a Subversion project into a Git repository.
- In Bitbucket, create a project by clicking Create Project or select the existing one.

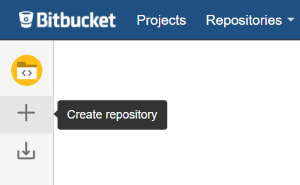
- Add an empty Git repository to your project by clicking Create Repository or select the existing repository.
- To specify the settings for the initial configuration of a Subversion project:
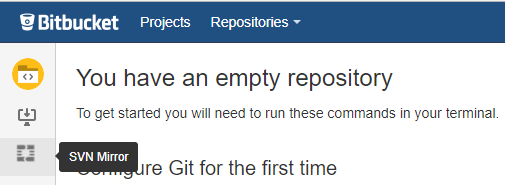
- On an empty repository page, click SVN Mirror.
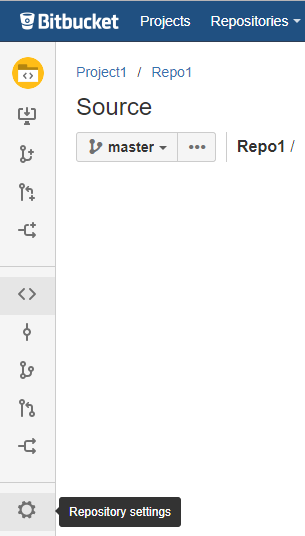
- In the existing non-empty repository, click Repository Settings, and then click SVN Mirror in the sidebar menu.
- On an empty repository page, click SVN Mirror.
- In the URL field, enter the URL to the root folder of a Subversion project.
- Specify credentials to log in to a Subversion repository that contains the required Subversion project.
- Select the way to identify a Subversion project layout (the trunk, branches, tags, and shelves):
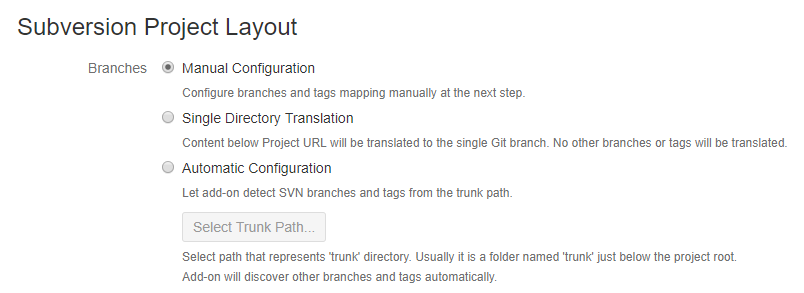
- To specify manually the rules to map the Subversion directories to Git references at the next step, select Manual Configuration.
- To import or mirror the whole Subversion directory, which the URL points to, into a single Git master branch, select Single Directory Translation.
To allow SVN Mirror to identify branches and tags automatically relative to the trunk folder, select Automatic Configuration. To specify the trunk folder, click Select Trunk Path… , and then select the trunk folder.
Note The automatic layout identification may take some time in case your Subversion project has a large branch history.
Based on the option that you’ve selected, SVM Mirror generates the branch mapping rules and displays them on the Branches Mapping tab. You can adjust these rules to map the required Subversion directories correctly.
- In the Email Domain filed, specify the email domain for the automatic Git author generation.
- To start the initial configuration of the project, click Continue.
To reset the initial configuration settings that you’ve specified, click Reset to Defaults. - Review, and if required, adjust the configuration settings to import or mirror your Subversion project properly. See the Import and mirror configuration settings section for the detailed information.
To restore previous configuration setting that you’ve specified, click Revert Changes.
To go back to the initial configuration of a Subversion project, click Back. To import a Subversion project into a Git repository, click Import.
After import, the synchronization between the Git and the Subversion repositories is disabled.
Tip You can start synchronizing the Git repository, which contains the imported Subversion project, with the original Subversion repository at any time. To do this, click Enable on the Mirror Status pane.

To mirror a Subversion project into a Git repository, click Mirror.
The Git repository with the imported Subversion project stayed synchronized with the original Subversion repository. The changes committed either with Subversion or Git are synchronized in both directions.
Note In case you import or mirror into the non-empty Git repository, the commits that have already existed in this repository become unsynced. After import, resolve conflicts manually on the Unsynced Commits tab.
Info Importing and mirroring may take significant time. It depends on the size of your Subversion project.