- Install SubGit tool according to the Installation guide.
- Configure GitLab server:
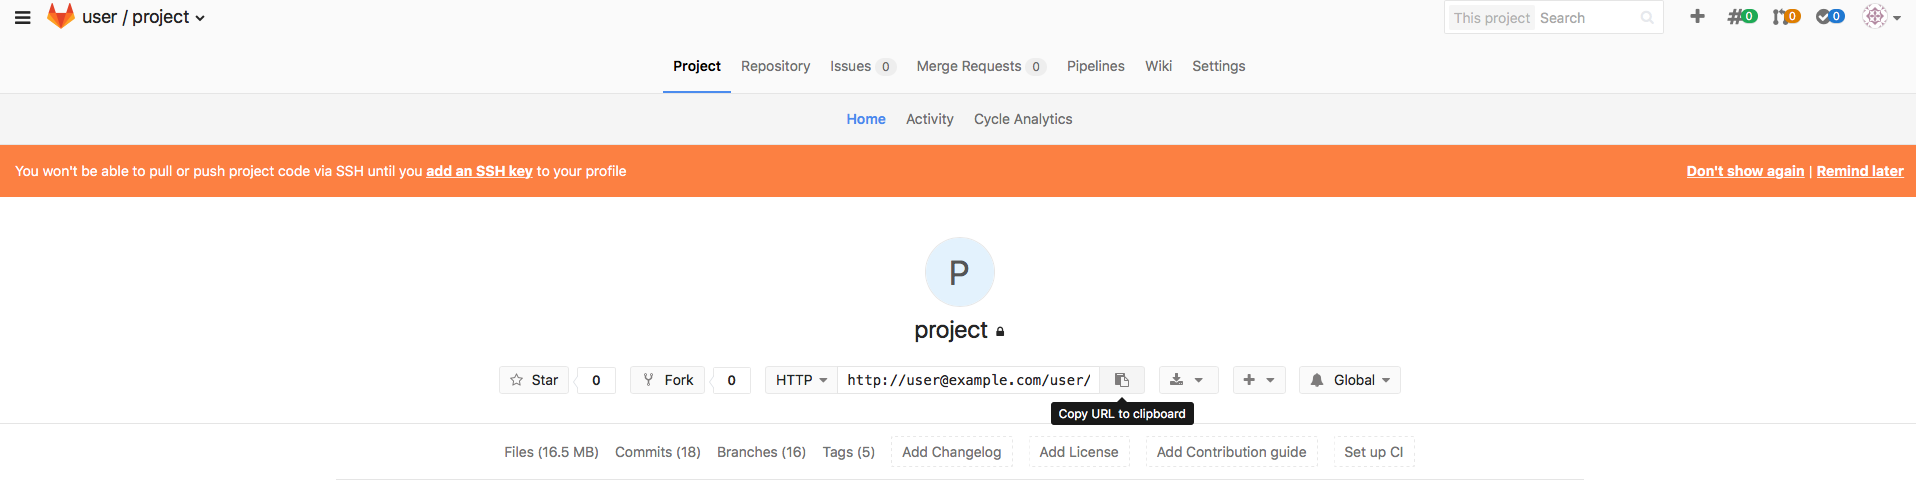
- Login to GitLab web GUI and create a new project:

Give a name to your project and click Create project button.

- Login to GitLab web GUI and create a new project:
- Configure the repository:
Change identity to 'git' user:
change identity to git user$ su git
Change directory to that one that contains the newly created project. GitLab usually stores its project in
/var/opt/gitlab/git-data/repositories/<username>
username here is actual GitLab user name that was used during the project creation on step 1. Step into that directory:
change directory$ cd /var/opt/gitlab/git-data/repositories/user
New GitLab project we have created in step 1 is being stored here in the directory of the same name we named the project:
New project content$ ls -l total 0 drwxrwx---. 6 git git 131 apr 25 02:06 project.git drwxrwx---. 6 git git 131 apr 25 02:06 project.wiki.git
Perform initial import configuration:
$ /temp/subgit-3.2.4/bin/subgit configure --layout auto --trunk trunk SVNURL GITREPO
where- SVN_URL - URL to the SVN project
- GIT_REPO - path to new Git repository where data from the SVN project will be imported to.
Specify authors mapping.
Configure authors mapping in default authors mapping file:GIT_REPOS/subgit/authors.txt
Or changecore.authorsoption so that it points to the global authors mapping file.
Find more details about authors mapping in Authors mapping article.
- Perform import and start using new Git repository:
Import data to the repository by the command:
$ /tmp/subgit-3.2.4/bin/subgit import GIT_REPO
When the command completes, you can clone your new Git repository and start to work with it:
$ git clone GITREPO WORKTREE
where
- WORK_TREE – path to your working copy.
- GIT_REPO – GitLab project URL:
No license needed for import
Note: no license key required for import!
Would you have any assistance, don't hesitate to contact us at support@subgit.com.